1. Trigger the arc on the groove surface and immediately retreat to the starting welding point at the root of the slope (usually about 10mm before the 6 o'clock position). When you see that it starts to melt, quickly add the welding wire to fuse the welding wire and the base metal all the way. It can be seen that the melt and slag flow into the tube through the groove evenly to form a molten hole; the welding torch makes a small zigzag swing, moves upwards slightly, the welding wire never leaves the argon protection, and should be attached to the blunt edge of the groove In the gap, the intermittent wire feeding method is adopted, one pulling and one sending, and one drop by drop is filled into the molten pool.
2. During the welding process, the short arc operation must be maintained; the handle must be stable, the wire feeding must be clean and neat, pay attention to the distance between the welding wire and the tungsten electrode, to prevent "tungsten", otherwise it must be cleaned before welding.
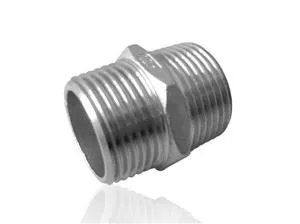
3. The stainless steel three-way control melt hole is large and small, and the shape is the same as the key to the double-sided forming of the bottom welding.
4. During the bottom welding process, the welding wire should be melted evenly, and a thin layer of slag should evenly penetrate into the nozzle to protect the welding seam. This is why the welding wire is used.
5. After the stainless steel tee is welded, hammering is performed to make the welding slag fall off; compressed air or water flushing can also be used to drop the welding slag in the pipe, so that a beautiful golden yellow weld can be obtained in the pipe.